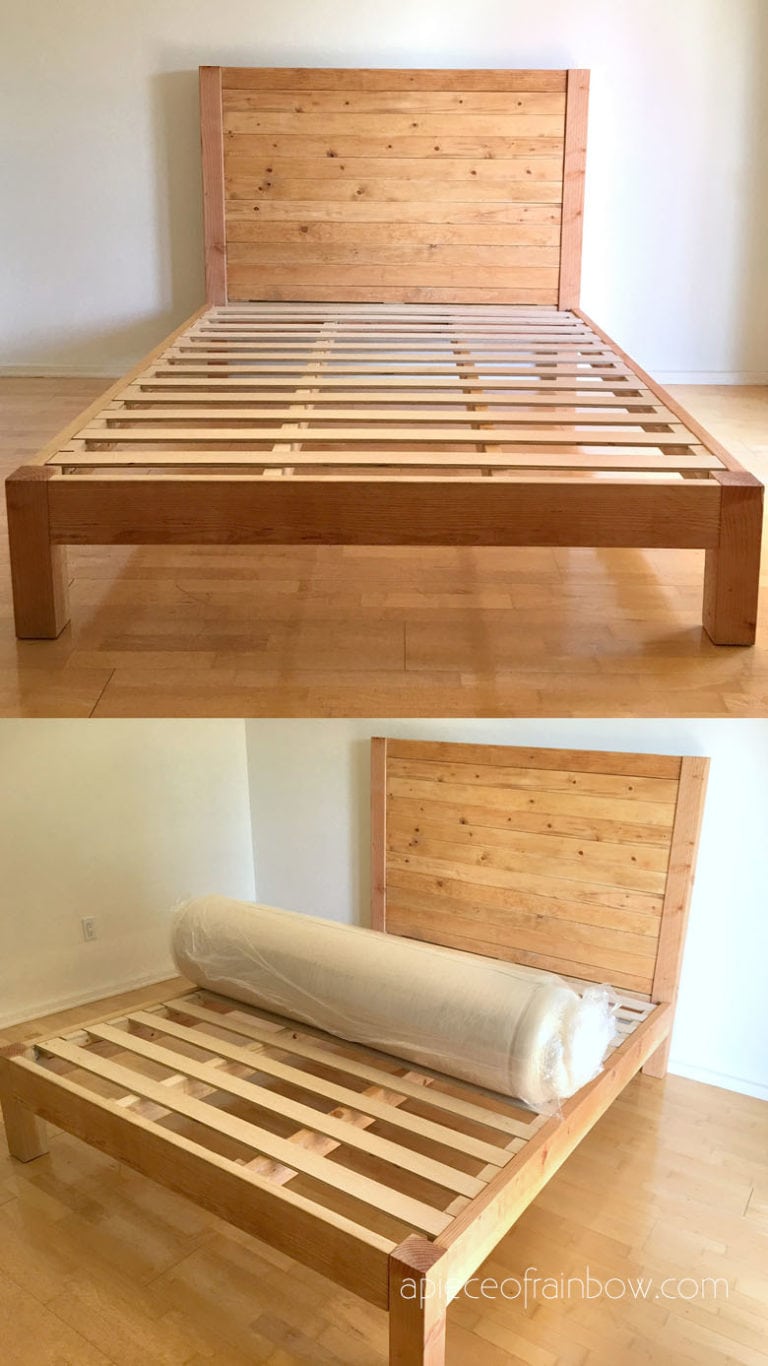

Building your own bed frame is a rewarding project that allows you to create a truly personalized piece of furniture. Here's a guide to building a basic wooden bed frame, with tips for customization and finishing touches:
Materials:
Wood:
Frame: 2x4s or 2x6s for the headboard, footboard, and side rails. Consider using pine for affordability, oak for durability, or maple for a unique grain.
Slats: 1x2s or 1x4s for the slats supporting the mattress.
Fasteners:
Wood screws, pocket hole screws, or dowels for assembling the frame.
Hardware:
Corner brackets for added stability.
Finishing:
Wood stain or paint in your desired color.
Polyurethane or varnish for protection.
Tools:
Measuring tape and pencil: For precise measurements.
Saw (circular saw or jigsaw): For cutting the wood to size.
Drill with drill bits: For pre-drilling and screwing.
Screwdriver or drill driver: For driving screws.
Sandpaper: For smoothing the wood.
Clamps: For holding pieces together while gluing or screwing.
Level: To ensure the frame is level and straight.
Steps:
1. Design and Measurement: Determine the dimensions of your bed and headboard/footboard style. Consider the size of your mattress and any desired overhang. Draw a plan with measurements for each piece.
2. Cut the Wood: Cut the wood for the headboard, footboard, side rails, and slats according to your plan. Make sure to use a saw with a sharp blade and measure carefully.
3. Assemble the Frame:
Headboard and Footboard: Connect the headboard and footboard to the side rails using wood screws, pocket hole screws, or dowels.
Slats: Attach the slats to the side rails using wood screws or pocket hole screws, spaced evenly for support.
Corner Brackets: Secure the frame with corner brackets at each corner for extra stability.
4. Finishing:
Sand: Sand the entire frame to a smooth finish.
Stain or Paint: Apply your chosen finish according to the manufacturer's instructions.
Protect: Apply polyurethane or varnish for a protective layer.
Customization Tips:
Headboard and Footboard Styles: Create a unique headboard and footboard by adding curves, decorative details, or integrated storage shelves.
Materials: Choose wood with different textures or colors to create a visually appealing contrast.
Finishing: Experiment with different stains, paints, or finishes to achieve your desired look.
Accessories: Add decorative elements like upholstery, fabric panels, or metal accents.
Storage: Incorporate drawers, shelves, or compartments for additional storage.
Safety Precautions:
Always wear safety glasses and hearing protection when using power tools.
Use clamps to secure your workpieces and prevent accidents.
Follow the manufacturer's instructions for using tools and finishing products.
Pro-Tips:
Pocket Hole Jig: A pocket hole jig makes it easier to create strong, hidden joints for a clean look.
Pre-Drilling: Pre-drill holes to prevent wood splitting when driving screws.
Level and Square: Use a level and square to ensure your frame is straight and stable.
Test Fit: Test fit all pieces before permanently attaching them to ensure everything aligns correctly.
Enjoy your new custom-built bed frame! You've created a unique and functional piece of furniture that reflects your personal style and adds character to your bedroom.


No comments:
Post a Comment