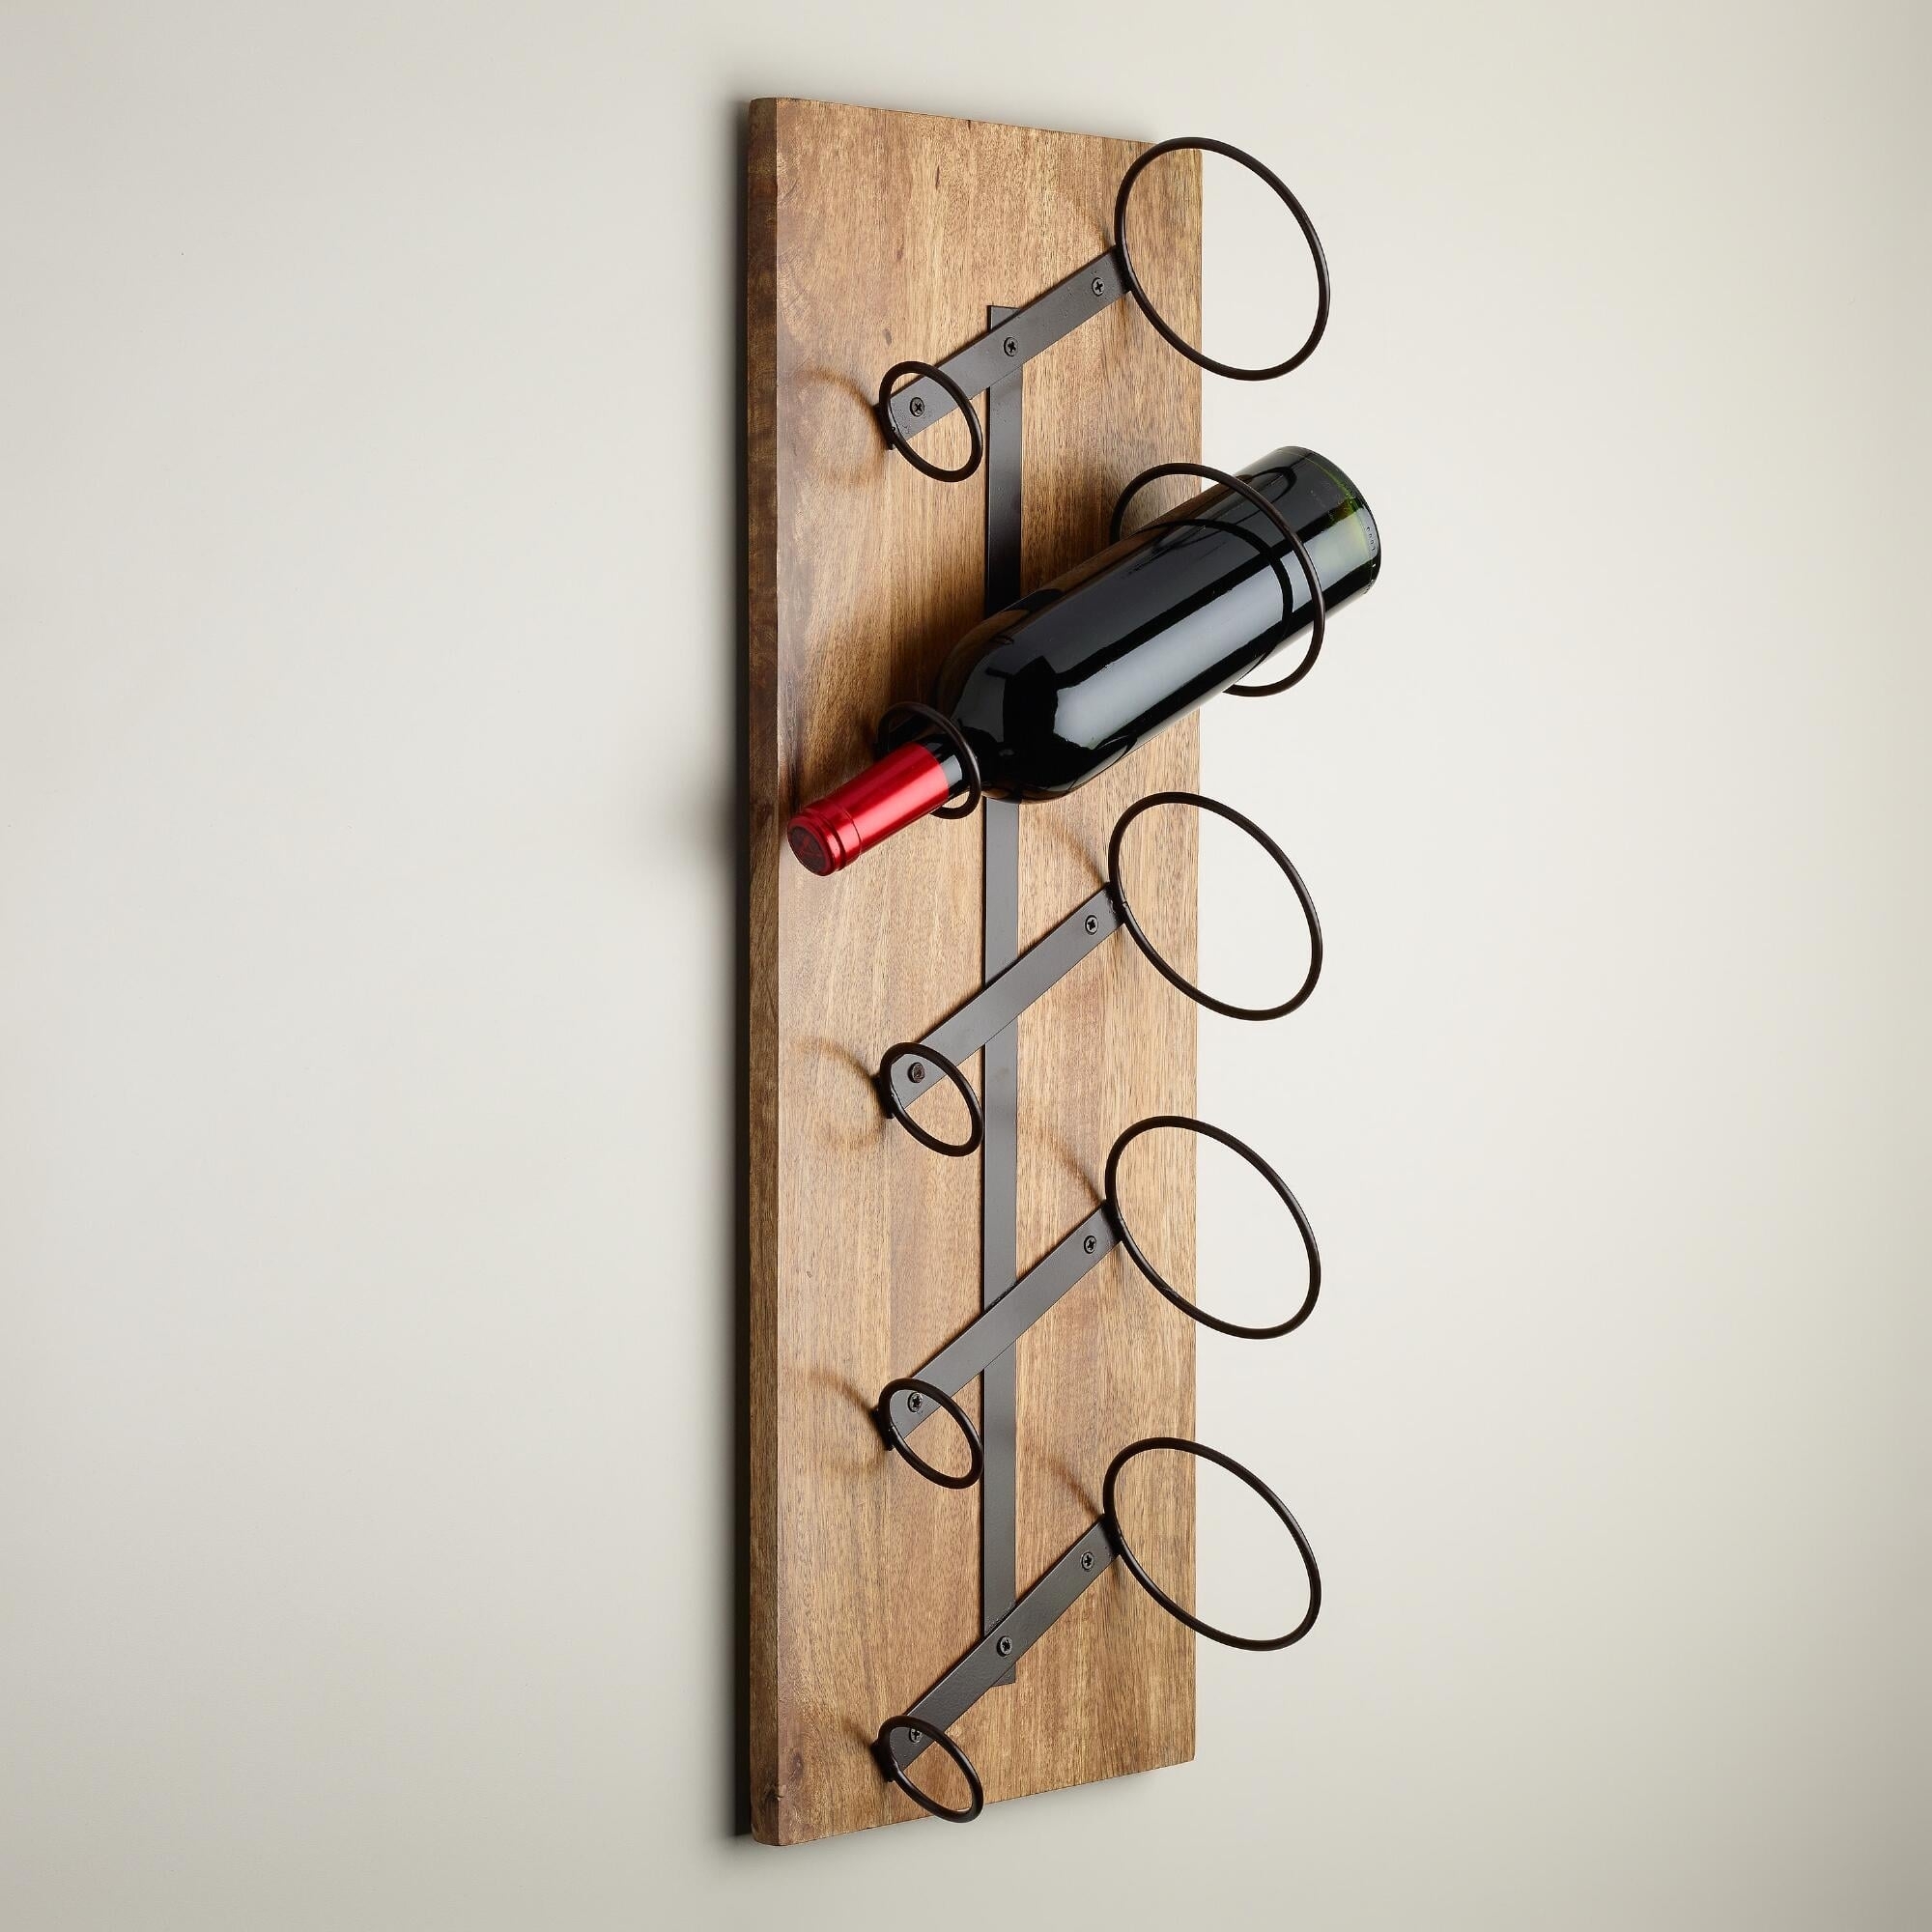

This project details how to create a beautiful and functional wooden wine bottle holder for your home. It's a great way to display your favorite bottles while adding a touch of rustic charm.
Materials:
Wood:
1 piece of 1" x 6" x 12" hardwood (for the base)
2 pieces of 1" x 4" x 12" hardwood (for the sides)
1 piece of 1/2" x 3" x 12" hardwood (for the top)
2 pieces of 1/2" x 1" x 4" hardwood (for the bottle rests)
Wood Glue
Wood Screws (1.5" or 2")
Sandpaper (80 grit, 120 grit, 220 grit)
Wood Stain (optional)
Polyurethane (optional)
Safety Glasses
Measuring Tape
Pencil
Saw (circular saw or handsaw)
Drill
Clamps
Instructions:
1. Cut the Wood:
Base: Cut the 1" x 6" x 12" board to 10" in length.
Sides: Cut both 1" x 4" x 12" boards to 8" in length.
Top: Cut the 1/2" x 3" x 12" board to 10" in length.
Bottle Rests: Cut both 1/2" x 1" x 4" boards to 3.5" in length.
2. Create the Bottle Rests:
Cut Curves: Using a pencil, mark a smooth curve on the 3.5" edge of each bottle rest piece. The curve should be about 2" in length.
Sand: Smooth the curves and edges of the bottle rests with sandpaper.
3. Assemble the Base:
Attach the Sides: Glue the two 1" x 4" x 8" boards to the sides of the 1" x 6" x 10" base, aligning the edges. Use clamps to secure the pieces while the glue dries.
Attach the Top: Once the glue is dry, place the 1/2" x 3" x 10" top piece on the assembled base. Align the edges and screw it in place with 1.5" screws.
Attach the Bottle Rests: Glue the bottle rests to the top piece, about 1.5" in from each end and ensuring the curved edge faces inwards. Use clamps to secure them until the glue dries.
4. Finish the Project:
Sand: Once the glue is completely dry, sand the entire holder with 80 grit sandpaper to smooth any rough edges. Gradually transition to 120 grit and finally 220 grit sandpaper for a smooth finish.
Stain: (Optional) Apply a wood stain of your choice to enhance the natural beauty of the wood.
Polyurethane: (Optional) After the stain dries, apply a few coats of polyurethane for a protective finish.
5. Enjoy Your Wine Bottle Holder:
Your elegant wooden wine bottle holder is now ready to display your favorite bottles.
Customization Tips:
Size: Adjust the dimensions of the holder to fit the size of your bottles and your desired aesthetic.
Design: Get creative with the shape of the bottle rests. You can create a more modern look with straight lines or a rustic design with curved or angled supports.
Finish: Use a variety of stains and finishes to match your home décor.
Additional Features: Consider adding a small shelf for glasses or a bottle opener to create a complete wine serving station.
Safety Precautions:
Wear safety glasses when using power tools.
Use caution when handling sharp tools and wood.
Ensure proper ventilation when using wood stain and polyurethane.
With a little time and effort, you can create a beautiful and functional wine bottle holder that will be a cherished addition to your home.


No comments:
Post a Comment