Create a Wooden Wine Bottle Holder: Elegant Home Accessory

Create a Wooden Wine Bottle Holder: Elegant Home Accessory 1
Create a Wooden Wine Bottle Holder: Elegant Home Accessory 2


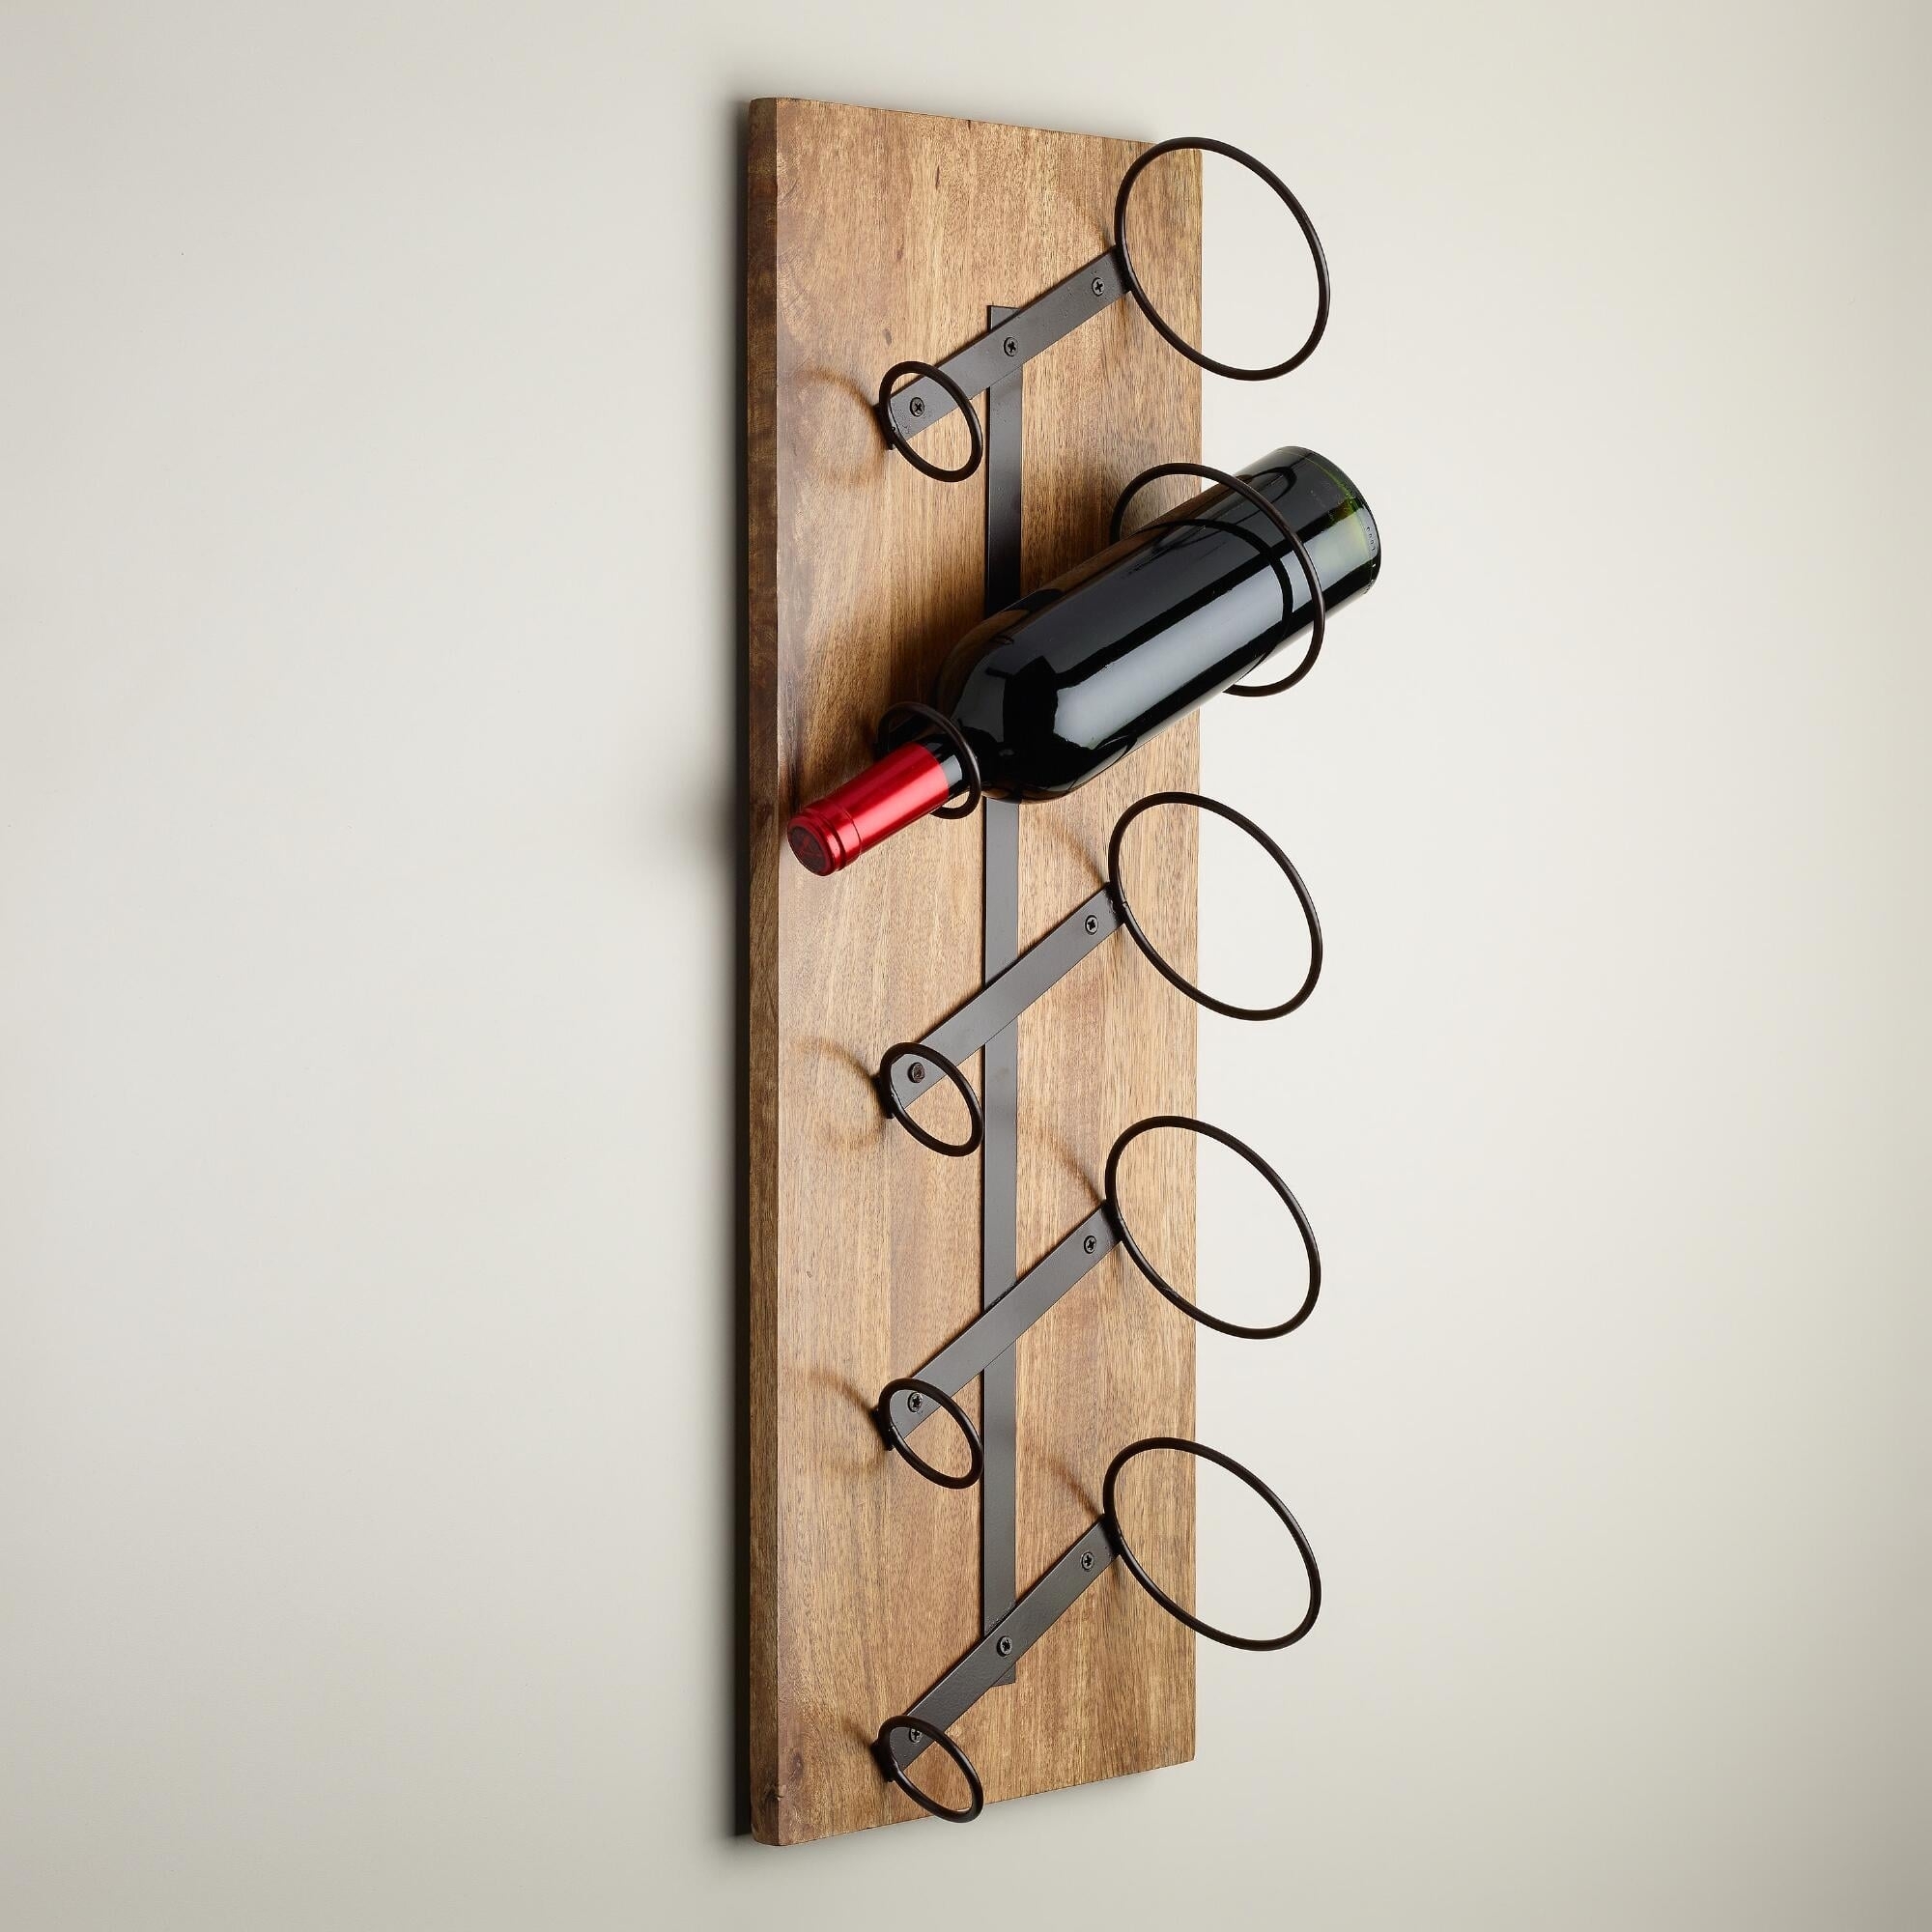
This project details how to create a beautiful and functional wooden wine bottle holder for your home. It's a great way to display your favorite bottles while adding a touch of rustic charm.

Materials:

Wood:
1 piece of 1" x 6" x 12" hardwood (for the base)
2 pieces of 1" x 4" x 12" hardwood (for the sides)
1 piece of 1/2" x 3" x 12" hardwood (for the top)
2 pieces of 1/2" x 1" x 4" hardwood (for the bottle rests)
Wood Glue
Wood Screws (1.5" or 2")
Sandpaper (80 grit, 120 grit, 220 grit)
Wood Stain (optional)
Polyurethane (optional)
Safety Glasses
Measuring Tape
Pencil
Saw (circular saw or handsaw)
Drill
Clamps

Instructions:

1. Cut the Wood:

Base: Cut the 1" x 6" x 12" board to 10" in length.
Sides: Cut both 1" x 4" x 12" boards to 8" in length.
Top: Cut the 1/2" x 3" x 12" board to 10" in length.
Bottle Rests: Cut both 1/2" x 1" x 4" boards to 3.5" in length.

2. Create the Bottle Rests:

Cut Curves: Using a pencil, mark a smooth curve on the 3.5" edge of each bottle rest piece. The curve should be about 2" in length.
Sand: Smooth the curves and edges of the bottle rests with sandpaper.

3. Assemble the Base:

Attach the Sides: Glue the two 1" x 4" x 8" boards to the sides of the 1" x 6" x 10" base, aligning the edges. Use clamps to secure the pieces while the glue dries.
Attach the Top: Once the glue is dry, place the 1/2" x 3" x 10" top piece on the assembled base. Align the edges and screw it in place with 1.5" screws.
Attach the Bottle Rests: Glue the bottle rests to the top piece, about 1.5" in from each end and ensuring the curved edge faces inwards. Use clamps to secure them until the glue dries.

4. Finish the Project:

Sand: Once the glue is completely dry, sand the entire holder with 80 grit sandpaper to smooth any rough edges. Gradually transition to 120 grit and finally 220 grit sandpaper for a smooth finish.
Stain: (Optional) Apply a wood stain of your choice to enhance the natural beauty of the wood.
Polyurethane: (Optional) After the stain dries, apply a few coats of polyurethane for a protective finish.

5. Enjoy Your Wine Bottle Holder:

Your elegant wooden wine bottle holder is now ready to display your favorite bottles.

Customization Tips:

Size: Adjust the dimensions of the holder to fit the size of your bottles and your desired aesthetic.
Design: Get creative with the shape of the bottle rests. You can create a more modern look with straight lines or a rustic design with curved or angled supports.
Finish: Use a variety of stains and finishes to match your home décor.
Additional Features: Consider adding a small shelf for glasses or a bottle opener to create a complete wine serving station.

Safety Precautions:

Wear safety glasses when using power tools.
Use caution when handling sharp tools and wood.
Ensure proper ventilation when using wood stain and polyurethane.

With a little time and effort, you can create a beautiful and functional wine bottle holder that will be a cherished addition to your home.

Share:

DIY Wooden Magazine Holder: Keep Your Reading Material Tidy

DIY Wooden Magazine Holder: Keep Your Reading Material Tidy 1
DIY Wooden Magazine Holder: Keep Your Reading Material Tidy 2


Materials:

Wooden board (1/2 inch thick)
Wood glue
Wood stain (optional)
Wood sealant (optional)
Sandpaper (fine and medium grit)
Clamps
Measuring tape
Pencil
Jigsaw (or hand saw)
Drill
Wood screws
Paint (optional)

Instructions:

1. Design and Cut:

Decide on the size: Measure the width and height of the magazines you want to store. Add a few inches to each dimension for comfortable placement.
Draw the design: Sketch out your design on the wooden board. You can choose a simple rectangle, a more elaborate shape with angled sides, or even a multi-tiered holder.
Cut the pieces: Use a jigsaw or hand saw to carefully cut out the shape.

2. Assemble:

Glue the pieces together: Apply wood glue to the edges that will be joined.
Clamp: Use clamps to secure the pieces while the glue dries.
Clean up: Wipe away any excess glue before it dries.

3. Finishing Touches:

Sand: Smooth the edges and any rough spots using sandpaper. Start with medium grit, then finish with fine grit for a polished look.
Stain (optional): Apply a wood stain to enhance the wood grain and add color. Let the stain dry completely.
Sealant (optional): Apply a sealant to protect the wood from scratches and moisture.
Paint (optional): If you prefer a painted look, apply a coat of paint to the entire magazine holder. Let the paint dry thoroughly.

4. Add Stability (Optional):

Back Support: If the magazine holder is tall or wide, adding a back support will improve stability. Cut a piece of wood to fit the width of the holder and attach it to the back using wood screws.
Feet: Add small wooden feet to the bottom to protect your surface and make it easier to move the holder.

Tips:

Measure twice, cut once: Accurate measurements are crucial for a well-fitting holder.
Sanding is key: Smoothing the edges with sandpaper will make the holder look more polished and feel comfortable to use.
Consider the weight: If you plan to store heavier books or magazines, use thicker wood or add extra support for strength.
Get creative: Don't be afraid to experiment with different shapes, colors, and designs to create a unique magazine holder that complements your decor.

Enjoy your new DIY wooden magazine holder and keep your reading material tidy!

Share:

How to Make a Wooden Tablet Stand: Convenient Accessory for Your Devices

How to Make a Wooden Tablet Stand: Convenient Accessory for Your Devices 1
How to Make a Wooden Tablet Stand: Convenient Accessory for Your Devices 2


Materials:

Wood: Choose a stable, durable wood like maple, walnut, or cherry. You can also use plywood, MDF, or reclaimed wood.
Saw: A handsaw or jigsaw will work for cutting the wood.
Sandpaper: Use a variety of grits (80, 120, 220) to smooth out the surface.
Wood glue: For assembling the stand.
Clamps: To hold the pieces together while the glue dries.
Wood stain or paint: (Optional) To customize the look of your stand.
Finishing oil or wax: (Optional) To protect the wood.
Screws or nails: (Optional) For extra reinforcement.
Measuring tape and pencil: For marking the wood.
Safety glasses: Protect your eyes during cutting and sanding.

Instructions:

1. Design and Dimensions:

Decide on the size and shape of your stand based on your tablet size and desired angle.
Consider adding a slight tilt for optimal viewing.
Sketch out your design and mark the wood accordingly.

2. Cut the Wood:

Use your saw to cut the wood into the desired shapes and sizes.
Cut accurately to ensure a sturdy and well-fitting stand.

3. Sand the Pieces:

Sand all the edges and surfaces smooth using sandpaper.
Start with coarser grits and progress to finer ones for a smooth finish.

4. Assemble the Stand:

Apply wood glue to the joints and clamp the pieces together.
Ensure a strong and secure bond.
Let the glue dry completely according to the manufacturer's instructions.
You can also use screws or nails for extra reinforcement.

5. Finish the Stand:

If desired, stain or paint the wood to your liking.
Let the finish dry completely before applying a sealant.
Apply a finishing oil or wax for protection and a beautiful sheen.

6. Enjoy Your New Stand:

Place your tablet on the stand and enjoy a comfortable viewing experience.
Use your new stand for watching movies, reading e-books, or simply browsing the web.

Tips:

Pre-drill holes: Use a drill bit slightly smaller than the screw diameter to prevent wood splitting.
Use clamps: Clamp the pieces firmly together to ensure a strong bond.
Sand in the direction of the grain: This will create a smoother finish and prevent scratches.
Test the stand before finishing: Ensure the stand is stable and fits your tablet comfortably before applying the finish.
Get creative: You can add decorative touches like inlays, carvings, or paint designs to make your stand unique.

Safety Precautions:

Always wear safety glasses when using power tools.
Use caution when handling sharp tools.
Keep work area clean and free of debris.

With these instructions and a little creativity, you can easily build a functional and stylish wooden tablet stand for your home or office.

Share:

Build Your Own Wooden Shoe Rack: Keep Your Shoes Organized

Build Your Own Wooden Shoe Rack: Keep Your Shoes Organized 1
Build Your Own Wooden Shoe Rack: Keep Your Shoes Organized 2


Tired of tripping over shoes in the entryway? Craving a stylish and functional shoe storage solution? Building your own wooden shoe rack is a rewarding DIY project that allows you to create a customized piece to fit your needs and style.

Materials:

Wood: Choose a durable wood like pine, oak, or maple. You'll need enough for the base, shelves, and any decorative elements.
Wood screws: For assembling the frame and attaching shelves.
Wood glue: For extra strength and stability.
Sandpaper: To smooth out surfaces and edges.
Wood stain or paint: Optional, for adding color and protection.
Finishing oil or wax: Optional, for a protective layer.
Measuring tape and pencil: For marking measurements.
Saw: For cutting the wood to size.
Drill: For pre-drilling holes and attaching hardware.
Screwdriver: For driving screws.
Clamps: For holding pieces together during assembly.
Level: For ensuring the shelves are straight.

Design Considerations:

Size: Determine the dimensions of your rack based on the amount of space you have and the number of shoes you need to store.
Style: Consider the style of your home and choose a design that complements your existing decor.
Shelves: Decide on the number of shelves and the spacing between them.
Additional Features: Think about adding features like a top shelf for decorative items or a built-in bench for putting on your shoes.

Step-by-Step Instructions:

1. Plan and cut the wood: Create a detailed blueprint of your design, including measurements for all the pieces. Cut the wood according to your plan using a saw.
2. Sand all surfaces: Sand all edges and surfaces of the wood with sandpaper to create a smooth finish.
3. Assemble the frame: Attach the side pieces of the rack to the bottom piece using wood glue and screws. Make sure the sides are parallel and level.
4. Attach the shelves: Drill pilot holes for the screws before attaching each shelf. Use wood glue and screws to secure the shelves to the frame.
5. Finish the rack: Sand any rough areas again after attaching the shelves. Apply a stain or paint of your choice, followed by a protective finishing oil or wax.

Tips:

Pre-drill pilot holes: This helps to prevent the wood from splitting when you screw it together.
Use clamps for extra stability: Clamp the pieces together while applying glue and screws.
Level each shelf: Ensure the shelves are level as you attach them to prevent your shoes from rolling off.
Customize your rack: Add a touch of personality with decorative elements like trim, molding, or a decorative top shelf.

Enjoy your new shoe rack! This personalized piece of furniture will keep your shoes organized and add a touch of style to your home.

Share:

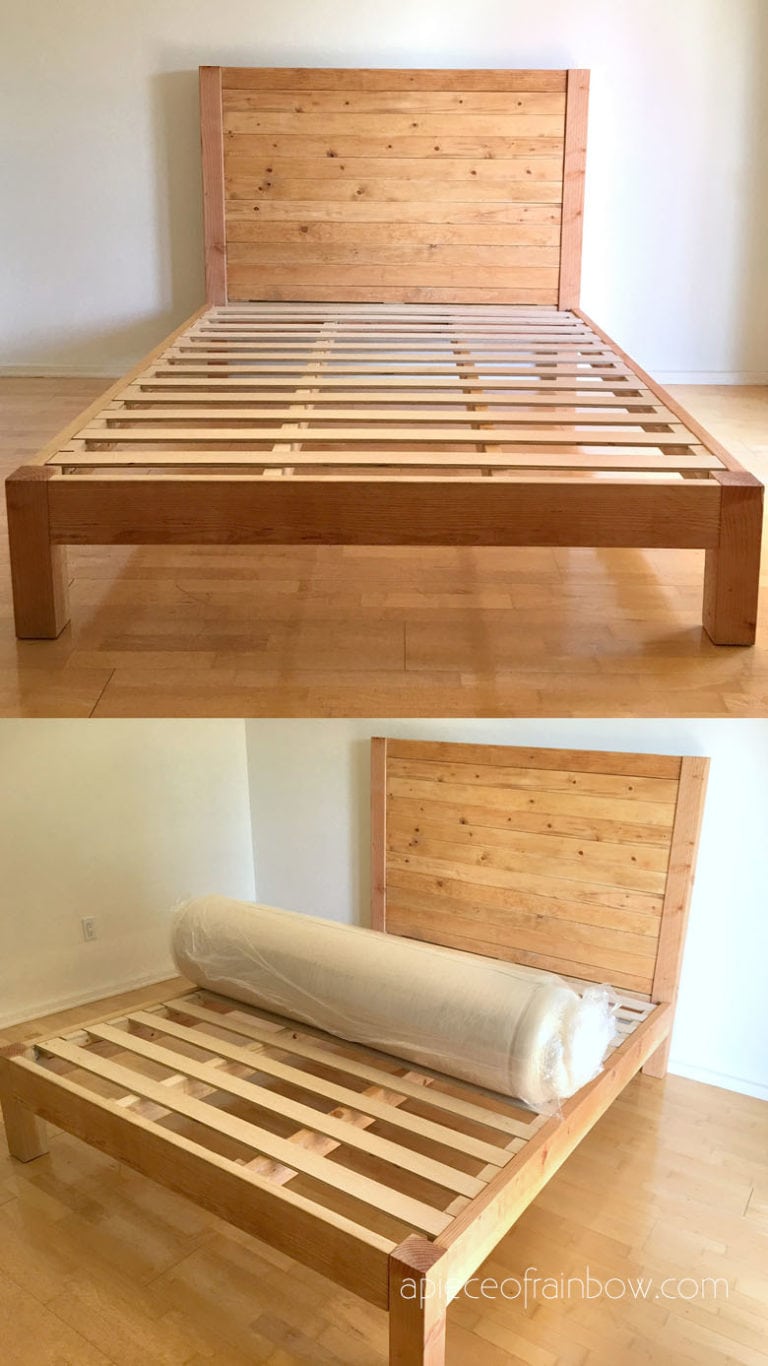
DIY Wooden Bed Frame: Customizable Bedroom Furniture

DIY Wooden Bed Frame: Customizable Bedroom Furniture 1
DIY Wooden Bed Frame: Customizable Bedroom Furniture 2


Building your own bed frame is a rewarding project that allows you to create a truly personalized piece of furniture. Here's a guide to building a basic wooden bed frame, with tips for customization and finishing touches:

Materials:

Wood:
Frame: 2x4s or 2x6s for the headboard, footboard, and side rails. Consider using pine for affordability, oak for durability, or maple for a unique grain.
Slats: 1x2s or 1x4s for the slats supporting the mattress.
Fasteners:
Wood screws, pocket hole screws, or dowels for assembling the frame.
Hardware:
Corner brackets for added stability.
Finishing:
Wood stain or paint in your desired color.
Polyurethane or varnish for protection.

Tools:

Measuring tape and pencil: For precise measurements.
Saw (circular saw or jigsaw): For cutting the wood to size.
Drill with drill bits: For pre-drilling and screwing.
Screwdriver or drill driver: For driving screws.
Sandpaper: For smoothing the wood.
Clamps: For holding pieces together while gluing or screwing.
Level: To ensure the frame is level and straight.

Steps:

1. Design and Measurement: Determine the dimensions of your bed and headboard/footboard style. Consider the size of your mattress and any desired overhang. Draw a plan with measurements for each piece.
2. Cut the Wood: Cut the wood for the headboard, footboard, side rails, and slats according to your plan. Make sure to use a saw with a sharp blade and measure carefully.
3. Assemble the Frame:
Headboard and Footboard: Connect the headboard and footboard to the side rails using wood screws, pocket hole screws, or dowels.
Slats: Attach the slats to the side rails using wood screws or pocket hole screws, spaced evenly for support.
Corner Brackets: Secure the frame with corner brackets at each corner for extra stability.
4. Finishing:
Sand: Sand the entire frame to a smooth finish.
Stain or Paint: Apply your chosen finish according to the manufacturer's instructions.
Protect: Apply polyurethane or varnish for a protective layer.

Customization Tips:

Headboard and Footboard Styles: Create a unique headboard and footboard by adding curves, decorative details, or integrated storage shelves.
Materials: Choose wood with different textures or colors to create a visually appealing contrast.
Finishing: Experiment with different stains, paints, or finishes to achieve your desired look.
Accessories: Add decorative elements like upholstery, fabric panels, or metal accents.
Storage: Incorporate drawers, shelves, or compartments for additional storage.

Safety Precautions:

Always wear safety glasses and hearing protection when using power tools.
Use clamps to secure your workpieces and prevent accidents.
Follow the manufacturer's instructions for using tools and finishing products.

Pro-Tips:

Pocket Hole Jig: A pocket hole jig makes it easier to create strong, hidden joints for a clean look.
Pre-Drilling: Pre-drill holes to prevent wood splitting when driving screws.
Level and Square: Use a level and square to ensure your frame is straight and stable.
Test Fit: Test fit all pieces before permanently attaching them to ensure everything aligns correctly.

Enjoy your new custom-built bed frame! You've created a unique and functional piece of furniture that reflects your personal style and adds character to your bedroom.

Share:

How to Make a Wooden Hammock Stand: Relax in Style

How to Make a Wooden Hammock Stand: Relax in Style 1
How to Make a Wooden Hammock Stand: Relax in Style 2


Creating a custom hammock stand is a rewarding project that allows you to tailor it perfectly to your space and style. Here's a step-by-step guide:

Materials:

Lumber: 4x4 posts (2), 2x4 lumber (6-8 pieces depending on length), 2x6 lumber (2 pieces for the spreader bars)
Hardware: 1 1/2" wood screws, lag screws, carriage bolts (2), nuts and washers (2 sets)
Tools: Circular saw, drill, tape measure, level, hammer, wrench, safety glasses, work gloves
Optional: Wood stain, polyurethane, paint, sandpaper

Step 1: Determine Stand Size

Measure the length of your hammock.
Decide on the desired height of the stand (typically 4-5 feet).
Calculate the distance between the posts based on the hammock's length and desired height.
Add an extra 1-2 feet to each side to ensure stability.

Step 2: Cut the Lumber

Posts: Cut the 4x4 posts to your desired height.
Horizontal Beams: Cut 2x4 lumber for the horizontal beams connecting the posts. These will be the same length as the distance between your posts (calculated in step 1).
Spreader Bars: Cut the 2x6 lumber to the length of your hammock plus 2-3 inches.

Step 3: Assemble the Base

Lay out: Place the posts on a flat surface parallel to each other, the distance apart calculated in step 1.
Attach Beams: Attach two horizontal beams to the posts, one near the bottom and the other a few inches below the top.
Secure with Screws: Use wood screws to secure the beams to the posts. Make sure the beams are level and flush with the posts.

Step 4: Create the Spreader Bars

Drill Holes: Drill two holes through the center of each spreader bar, spaced apart to match the distance between the posts.
Countersink Holes: Countersink the holes slightly to allow the carriage bolts to sit flush.

Step 5: Attach the Spreader Bars

Position Spreader Bars: Place the spreader bars on top of the horizontal beams, centered on the posts.
Insert Carriage Bolts: Insert carriage bolts through the holes in the spreader bars and into the posts.
Secure with Nuts: Secure the carriage bolts with nuts and washers on the inside of the posts.

Step 6: Finishing Touches

Sand and Finish: Sand the stand smooth, then apply stain, paint, or polyurethane as desired.
Hang Your Hammock: Attach your hammock to the spreader bars using the appropriate hanging hardware.

Tips for a Successful Project:

Use quality lumber: Choose treated lumber for outdoor durability.
Pre-drill holes: This prevents splitting and makes it easier to screw and bolt pieces together.
Check for Level: Use a level frequently to ensure the stand is straight and balanced.
Reinforce with Braces: Add diagonal braces for extra stability, especially if the stand is tall.
Safety First: Always wear safety glasses and gloves when working with power tools.

Enjoy your new hammock stand! With a little effort and creativity, you can build a custom stand that will provide you with endless hours of relaxation.

Share:

Build a Wooden Fire Pit: Enjoy Your Outdoor Space Year-Round

Build a Wooden Fire Pit: Enjoy Your Outdoor Space Year-Round 1
Build a Wooden Fire Pit: Enjoy Your Outdoor Space Year-Round 2


Introduction:

A wooden fire pit is a beautiful and functional addition to any outdoor space. It's a great way to gather around the fire with friends and family, roast marshmallows, and enjoy the warmth on chilly evenings. This guide will walk you through the steps of building a safe and stylish wooden fire pit.

Materials:

Lumber:
4x4 posts for the legs (4 pieces, 36 inches long)
2x4 lumber for the frame (8 pieces, 36 inches long)
1x4 lumber for the fire ring (8 pieces, 24 inches long)
1x6 lumber for the top (1 piece, 36 inches long)
Hardware:
Deck screws (2.5-inch long)
Wood glue
Metal fire ring or fire pit grate (optional)
Tools:
Circular saw or handsaw
Drill with drill bits
Level
Measuring tape
Hammer
Safety glasses
Work gloves

Instructions:

Step 1: Prepare the base.

Cut the 4x4 posts to 36 inches.
Use wood glue and deck screws to secure the posts to the ground in a square shape. Ensure the posts are level and the base is stable.

Step 2: Build the frame.

Cut the 2x4 lumber to 36 inches.
Use wood glue and deck screws to attach the 2x4s to the posts to create a rectangular frame around the base. Ensure the frame is square and level.

Step 3: Build the fire ring.

Cut the 1x4 lumber to 24 inches.
Use wood glue and deck screws to construct a square ring inside the frame, leaving a gap for airflow.

Step 4: Install the top.

Place the 1x6 piece of lumber across the top of the frame.
Secure the top to the frame using wood glue and deck screws.

Step 5: Add a fire ring or grate (optional).

If desired, install a metal fire ring or grate inside the wooden fire ring. This will provide a safe and durable surface for burning.

Step 6: Finish the fire pit.

Apply a fire-retardant sealant or paint to the wood to protect it from heat and weather.
Consider adding decorative elements like stone or gravel around the base of the fire pit.

Safety Precautions:

Always use a fire pit on a non-flammable surface.
Keep water and a fire extinguisher nearby.
Never leave a fire unattended.
Always check for overhead obstructions before starting a fire.
Be cautious of sparks and embers.
Keep children and pets away from the fire pit.

Enjoy Your Fire Pit:

Once your fire pit is built, you can enjoy warm evenings with friends and family. Relax around the fire, tell stories, roast marshmallows, and create lasting memories.

Tips for Enjoying Your Fire Pit:

Use dry, seasoned firewood.
Start your fire with kindling and small pieces of wood.
Keep the fire contained within the fire ring.
Don't overload the fire pit with too much wood.
Extinguish the fire completely before leaving.

Building a wooden fire pit is a fun and rewarding project. With the right materials and instructions, you can create a beautiful and functional space to enjoy year-round.

Share:

Postingan Populer

Search This Blog

Powered by Blogger.

Blog Archive

Entri yang Diunggulkan

Create a Wooden Wine Bottle Holder: Elegant Home Accessory

This project details how to create a beautiful and functional wooden wine bottle holder for your home. It's a great way to display you...

Recent Posts

Pages

Theme Support